Want to elevate your hand-cam game? This article offers valuable insights and tips for Tandem Instructors aspiring to deliver the highest quality footage. Written by Heath Baird.
In the world of tandem skydiving, the choice between outside camera and hand-cam is a topic of conversation amongst instructors and operators globally. While many prefer the scenic imagery of outside cameras, some lean towards the more personal perspective provided by hand-cams, which provide financial benefits for operators and additional footage under canopy for tandem students.
In Australia, hand-cam is currently used more than the outside camera option. Prior to starting hand-cam here, tandem instructors require approval from their Chief Instructor before strapping a camera to their wrist. Approval includes a minimum of 100 tandems, an approved camera glove set up, completion of a hand-cam instructional course and at least one practice hand-cam tandem jump with a sport skydiver on the front, and the mandatory use of an audible device for the first 50 hand-cam jumps.
If you have ever found yourself in the editing room of a drop zone, or observed hand-cam products, you may have wondered what contributes to the varying quality of these products and what sets certain products apart. For tandem instructors aspiring to deliver the highest quality in their footage and final product, this article offers valuable insights and tips to elevate your hand-cam game.
Communication
For some, a tandem skydive is a bucket list item, and for others it may be a life goal or special event. While some students may be happy to be engaging with the camera, it is not the same for everyone. Be upbeat and engaging with the student, invite and encourage them to talk, however, remember that it is their experience and not everyone desires to be overly focused on filming. Read the individual and tailor to them.
With shy students or language barriers, keep it simple. I prefer to refer to the opening introduction as a "chat" rather than an "interview". It’s more casual and therefore has less expectation and pressure. It is their experience, their product. Work with them and make it personal for them, and try to give the same effort to everyone.
Filming Techniques
A few simple techniques can be the difference between a quality product and an average one.
1) Lighting: Be aware of where the sun is and maximise filming the student with lighting on their face. The footage is brighter and clearer than with the sun behind them or with shadow on their face.
2) Angles: Film at eye level or slightly higher. It isn’t flattering to film from below eye level looking up, at an angle which will show double chins and makes it harder to show interesting scenery in the background. Also, aesthetic aside, be very careful if you are filming from a low angle with your arm in front of your student's arms - this is increasing the chances of a student being able to arm lock you.
3) Tell a story: Film in a way to allow one clip to feed into the next with smooth transitions. A common technique is to finish the first clip by sweeping up to the sky and then starting the second clip sweeping down from the sky, or using the same technique with the ground. By timing the recordings right, the transitions between clips will flow and be more pleasing to the eye.
4) Be smooth: Move the camera smoothly and slowly. Quick jerking filming is hard on the eye. Be dynamic with your clips and use the environment to your advantage.
5) Clip duration: Time the takeoff shot so it doesn’t drag out and keep scenic shots relatively short and to the point. The overall product shouldn’t be too long and feel like it drags out. Modern videos on social media are now only a few minutes and scenes that go on without anything moving, changing or happening for the eye to follow can cause a lack of interest.
Exit and Freefall
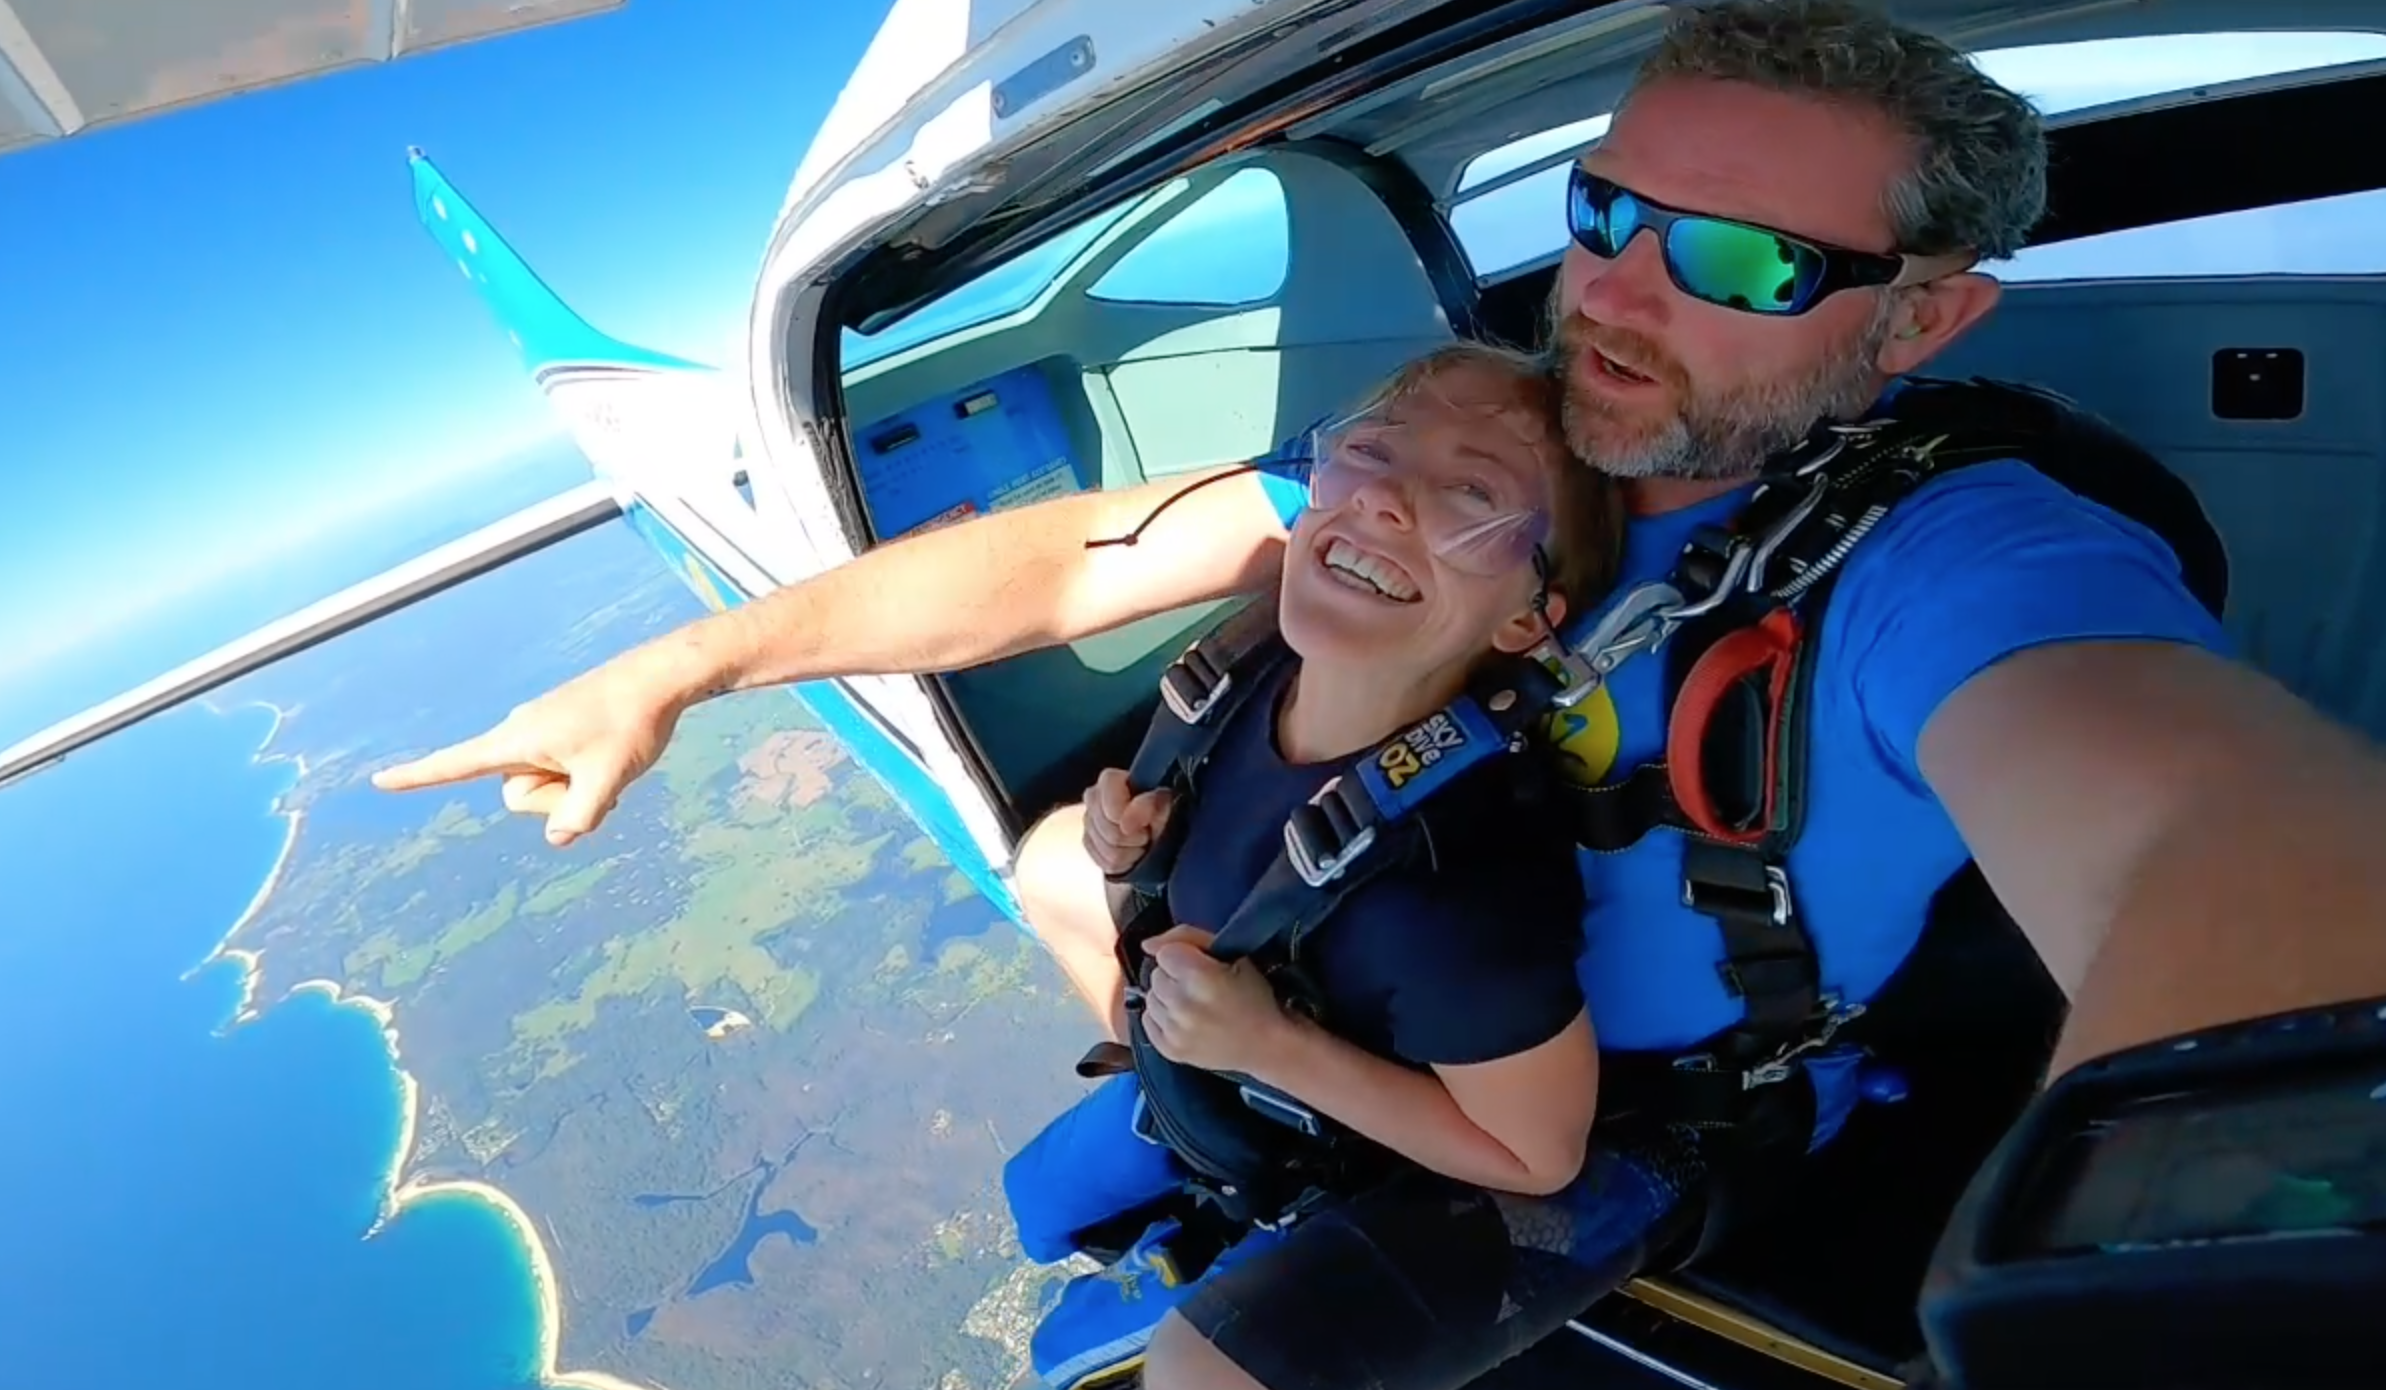
From my experience, during exit and through freefall, the position of your camera arm doesn’t need to change from the position you would fly normally without a camera. In fact, by holding your camera arm high in the position you would have it during a normal freefall, having the student look up with their head back will frame them perfectly as you exit. All that needs to be done is to angle your wrist to aim the camera.
I have noticed a trend when Instructors first start running hand-cam, when they set up in the door with their left arm extended out in front 90 degrees. This usually results in filming up at the student during exit, or requires the instructor to raise their arm into what is relatively close to a standard tandem flying position anyway. Start with the camera in a normal flying position and focus on keeping the angle of your wrist in position to keep the student and yourself in frame, while keeping the exit shot as wide as possible to capture the view around you. All aircraft I have jumped from have allowed me to do this and I am almost 2 meters tall. Aiming to keep this natural arm position also allows your left arm to catch air on exit, allowing more stability.
Once you have exited, got stable, deployed the drogue and completed your handle checks, use the landscape to your advantage and move the camera smoothly during freefall. Keeping the camera level with the horizon produces a more natural looking image. It is not nice to view the horizon from a 45-degree angle (rarely do we see things in nature from that angle).

Develop a flow and routine through the skydive so the imagery isn’t static. For example, at 5-10 second intervals slowly and smoothly move the camera from a wide shot high to capture the scenery, then slightly lower, then a tight shot to focus on expression, and so on. Be aware of the landscape and angle of the sun as the day changes.
Deployment
During deployment keep the camera out wide and low to avoid student interference and film up. That way it’s possible to film the parachute open and the student's expression during opening, while at the same time reducing strain on the shoulder which can happen if you repeatedly hold your arm out at a right angle. From my experience, my right hand is enough to push on the riser to prevent the rare line twist and this produces a far superior product than grabbing the risers with your camera hand. However, do you what you need to do when it comes to safety.
Remember, completing your canopy checks and ensuring you are facing the right direction in relation to the canopy winds are of upmost importance after deployment.
Filming your deployment is not essential, safety is.
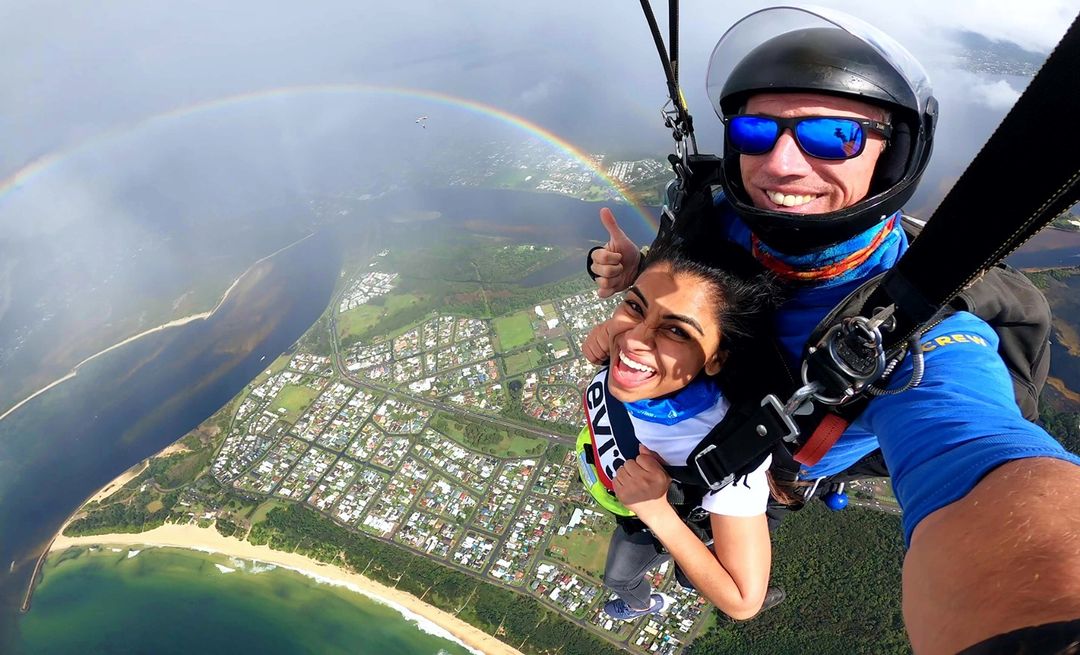
Canopy
If comfortable, having the student turn the parachute allows for the best footage. It is engaging for the student and again looks best if the horizon is level in the camera.
Flying around holding the toggles can be tricky, as in order to keep the student in shot you need to bend at the wrist to angle the camera correctly. It requires a bit of technique and a little extra strength. However, over time with a bit of focus and practice, it is possible.
Use the landscape to your advantage. Lift your camera up high and film down while turning left, and drop your arm down low while turning right. This will increase the view of the surrounding area whilst also being dynamic. When filming more static shots, think about the angle of the sun so it is on your face, if the wind allows of course.

During landing, it can be possible to keep the student in frame, depending on your arm length and strength. Keeping the student in shot requires more of a "front pulling" technique while flaring and therefore requires more strength. If you have shorter arms or less strength, do not sacrifice getting the full flare for the camera shot, get your shoulders over the toggles and finish the flare properly. Improving your landing footage can be something you work on with experience.
Do what you can. Safety is the number one priority, as always.
Editing Software
From my experience, every drop zone I have worked at has its own procedures regarding how tandem footage is edited and what camera settings need to be used. Learn and understand how it works so you can tailor your clips to suit the system.
How many clips are required? Is it automated, edited by artificial intelligence, or edited by a human? Try not to turn your camera on extremely early before exit, but also make sure you leave sufficient time to turn it on and check it's recording before moving to the door, without interrupting your safety procedures. Does the system require you to turn to camera off and on again prior to talking to the student after landing?
Learn the system at your drop zone in order to produce the highest quality product.
Your Camera
Almost everyone uses GoPro cameras and I am no different. Here are a few tips I have learnt over the years:
Batteries don't last very long. However with the "QuikCapture" setting on GoPros, or by filming multiple shot each time you turn the camera on, you can drastically improve your filming efficiency with regard to battery life. Alternatively, have a spare battery with you, or have one of the GoPro Enduro white batteries, which have better battery life and perform better in cold temperatures.
I have found that by pulling the battery out and putting it back in prior to exit, this significantly reduces the likelihood of my camera having malfunctions, both in the door and during freefall. Know your camera, some models are more temperamental than others. It is always good to have a spare SD card with you or in the plane as well. And make sure your camera lens is clean when you turn it on.
Rounding Up
Hand-cam provides a degree of individuality and freedom to be creative in your role as an Instructor. In order to know the quality of your product and continuously improve, reviewing your footage to see what works and what doesn’t is absolutely essential. Reviewing gives you the opportunity to improve.
Remember, you are marketing yourself and you are an ambassador of our sport. Always be polite, presentable and professional. And remember to smile.
Practice your routine and always remember to practice your emergency procedures with your hand-cam glove on. Safety is your first priority, then the student's experience, then the footage.
Aim to create an excellent product, but don't get distracted and lose track of your priorities.
About The Author
Heath Baird is a Tandem and AFF Instructor, Course Trainer and Drop Zone Safety Officer with over 24 years of experience in the skydiving industry. He has over 15,000 jumps and has reached speeds of 501km in the Speed Skydiving discipline.
If you would like to submit an article, or have a topic request for the APF Blog, please email blog@apf.com.au
[Photo Sources: Heath Baird, Cameron Olivieri, TBH Media, Coastal Skydive, Skydive Jurien Bay, Skydive Oz, Skydive Australia]